-
Momentum
-
MLOps
-
Impulse EDW
-
- 2.1 Create a Warehouse
- 2.2 Edit Warehouse
- 2.3 Datasources In Warehouse
- 2.4 Ingesting Data Into Tables or Datasources
- 2.4.1 Ingesting From Momentum Data Pipeline
- 2.4.2 Uploading File Using Impulse UI
- 2.4.3 Ingesting From External File/Storage System
- 2.5 Add Data to Existing Tables
- 2.5.1 Update Existing Index
- 2.6 Delete Table Records (Rows)
- 2.7 Delete Tables or Datasources
- 2.8 Monitoring Indexing Tasks
- 2.9 View Datasource Stats
-
Inset BI
- Alerts and Reports
- Connecting to a new database
- Registering a new table
- Creating charts in Explore view
- Manage access to Dashboards
-
- Articles coming soon
-
- Articles coming soon
-
- Articles coming soon
-
- Articles coming soon
-
- Articles coming soon
-
APIs
- Articles coming soon
Connecting to a new database
First things first, we need to add the connection credentials to your database to be able to query and visualize data from it. If you’re using Inset BI independently, you can skip this step because a Postgres database, named PostgreSQL, is included and pre-configured in Inset for you.
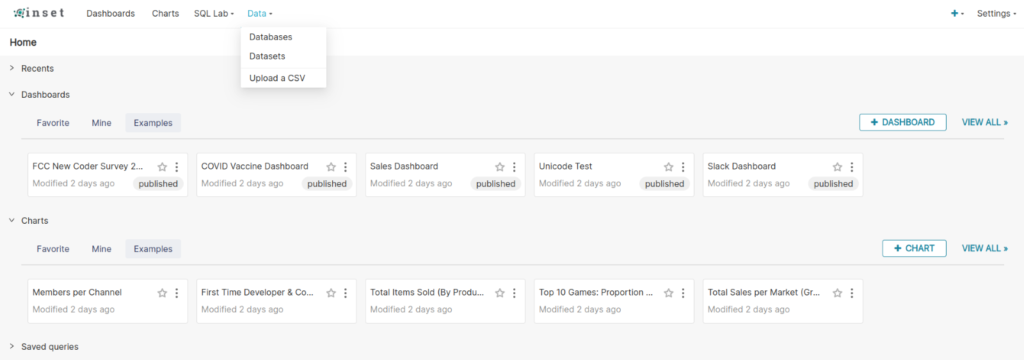
Under the Data menu, select the Databases option:

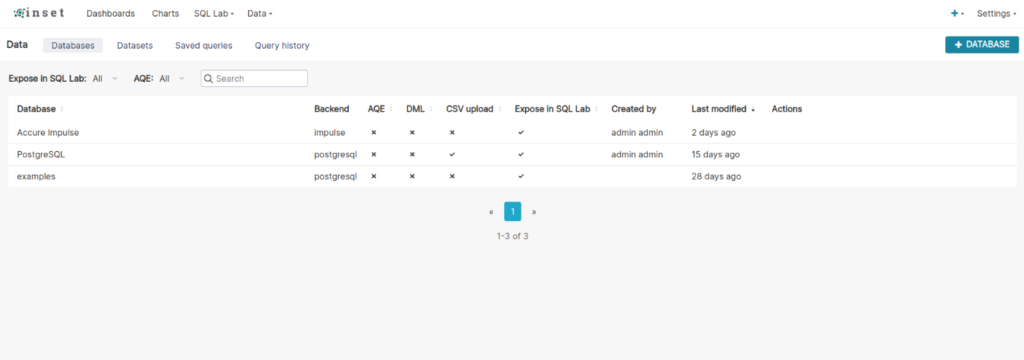
Next, click the green + Database button in the top right corner:

You can configure a number of advanced options in this window, but for this walkthrough you only need to specify two things (the database name and SQLAlchemy/Impulse DW URI):


The Impulse DW URL format should be in the format:
impulse://username:password@hostname:port/impulse/v2/sql
Click the Test Connection button to confirm things work end to end. If the connection looks good, save the configuration by clicking the Finish button in the bottom right corner of the modal window.
Congratulations, you’ve just added Impulse DW data source in Inset BI.