Documentation
-
Momentum
-
MLOps
-
Impulse EDW
-
- 2.1 Create a Warehouse
- 2.2 Edit Warehouse
- 2.3 Datasources In Warehouse
- 2.4 Ingesting Data Into Tables or Datasources
- 2.4.1 Ingesting From Momentum Data Pipeline
- 2.4.2 Uploading File Using Impulse UI
- 2.4.3 Ingesting From External File/Storage System
- 2.5 Add Data to Existing Tables
- 2.5.1 Update Existing Index
- 2.6 Delete Table Records (Rows)
- 2.7 Delete Tables or Datasources
- 2.8 Monitoring Indexing Tasks
- 2.9 View Datasource Stats
-
Inset BI
- Alerts and Reports
- Connecting to a new database
- Registering a new table
- Creating charts in Explore view
- Manage access to Dashboards
-
- Articles coming soon
-
- Articles coming soon
-
- Articles coming soon
-
- Articles coming soon
-
- Articles coming soon
-
APIs
- Articles coming soon
< All Topics
Print
1.1 Signup
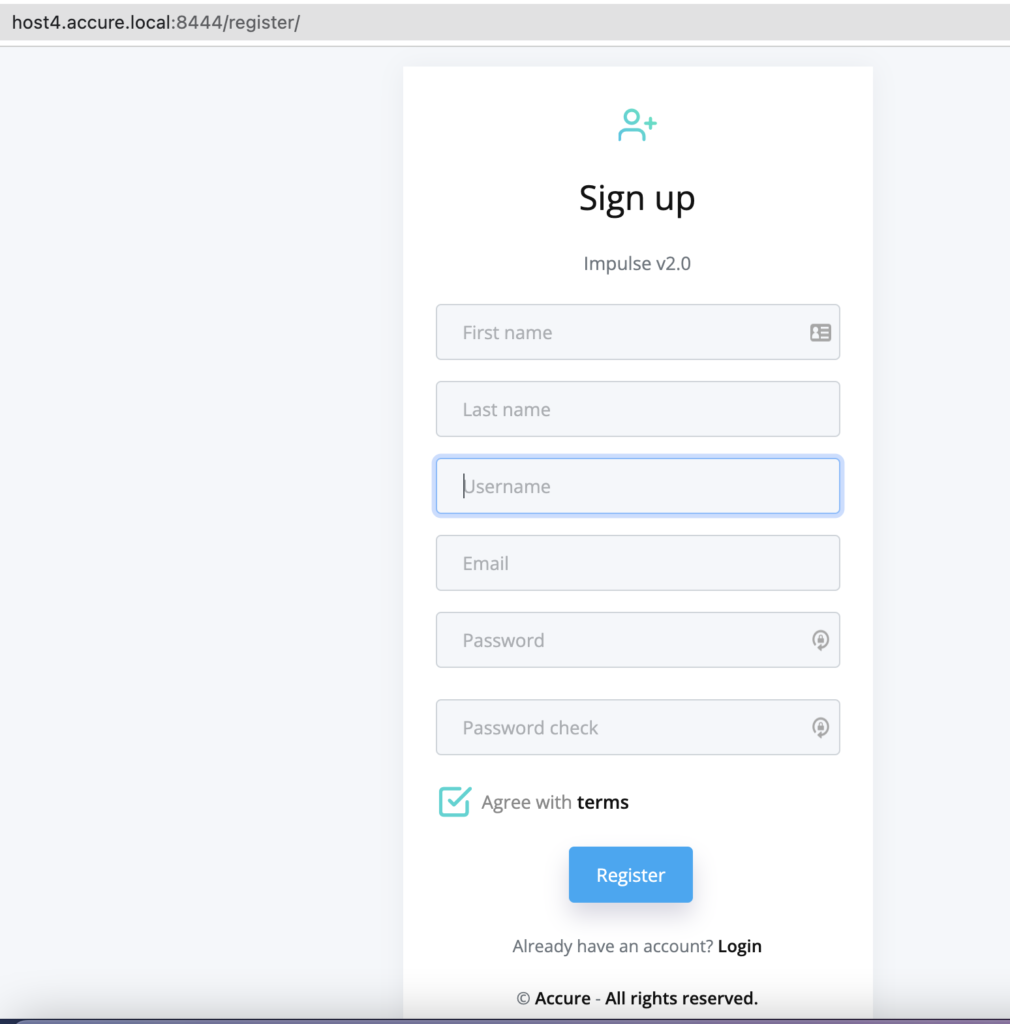
To register a user:
- In your browser window, type the URL and port number of Impulse server. The URL will vary for every installed instance of Impulse. If this is the first time after the system is installed, you may be able to open the login page by pointing your browser to http://<youripaddress>:433 (replace <youripaddress> with the actual IP address of the impulse server.
- On the login page, click “Sign up” link, fill out the registration form an click submit.
Import notes:
- The first time user who registers using the above method becomes the default administrator of the system.
- An admin has all the privileges systemwide.
- An admin can not delete itself or change its role.
- If, during the installation process, impulse is configured to integrate with Momentum and Momentum is deployed within the Impulse cluster, the same user becomes the admin of Momentum as well.
The following depicts the registration form.

Table of Contents